Activate Partner
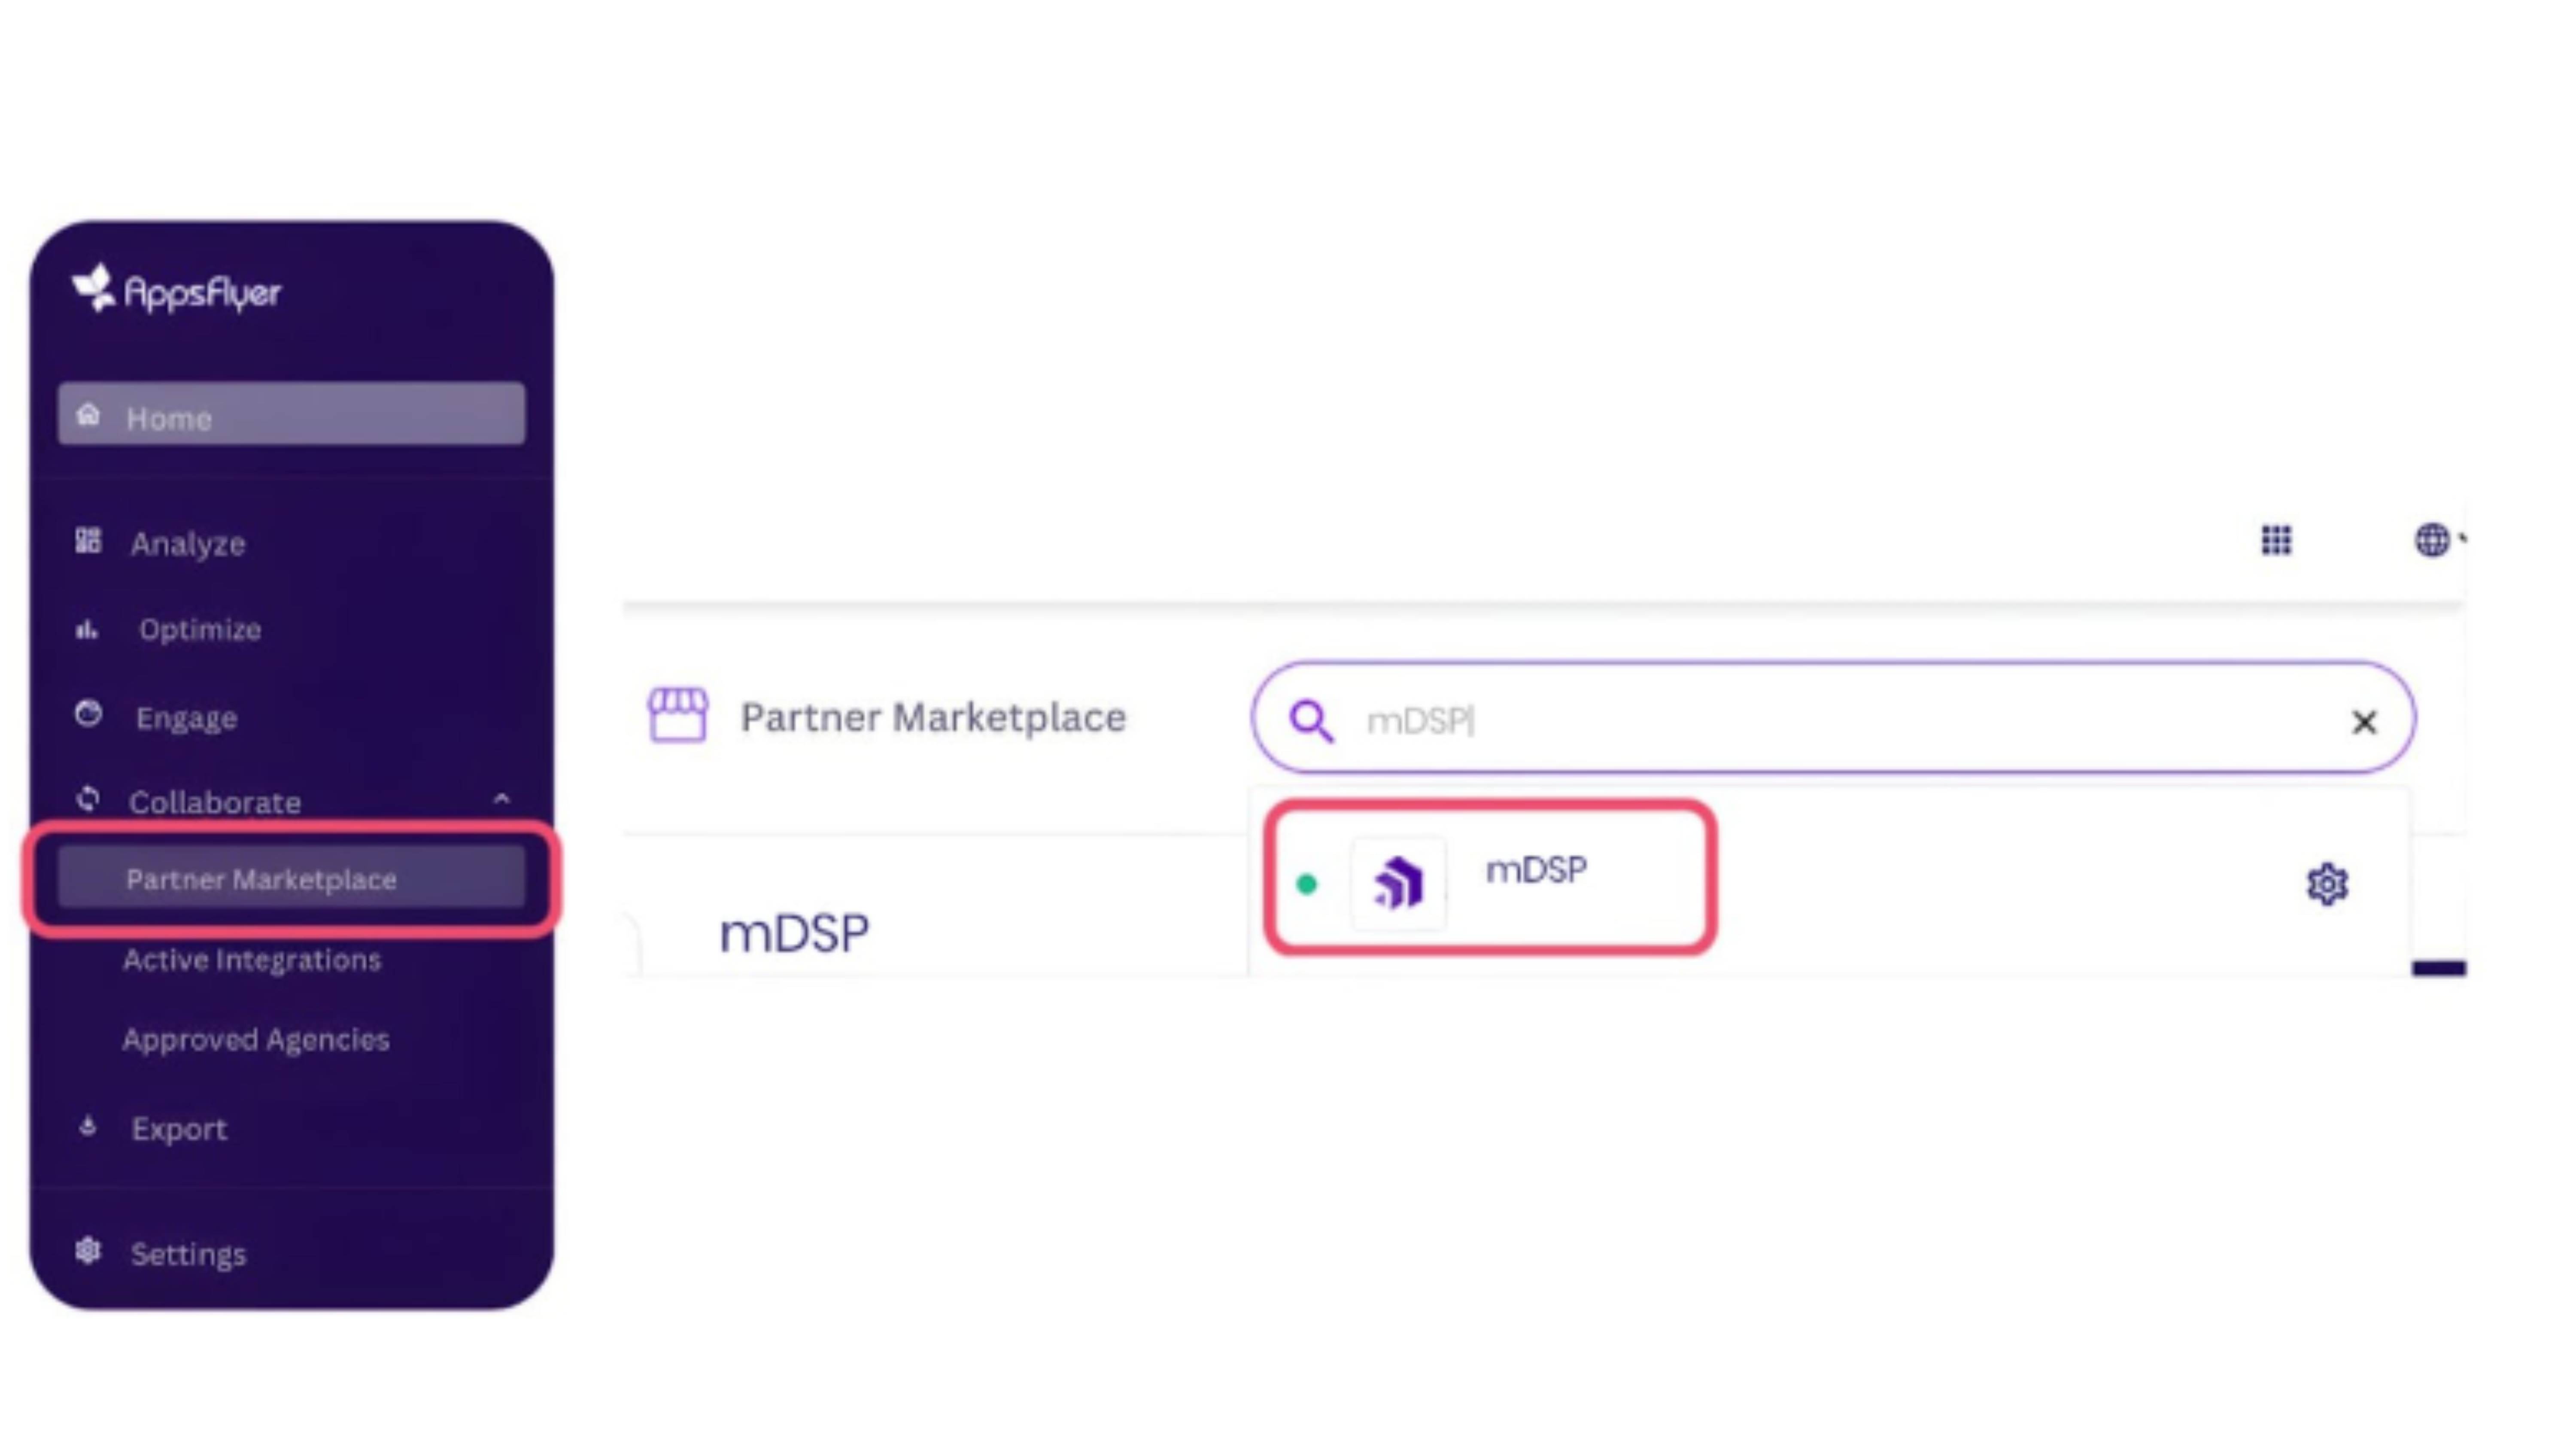
1. Navigate to Collaborate > Partner Marketplace and search for mDSP and select the "mDSP" option.
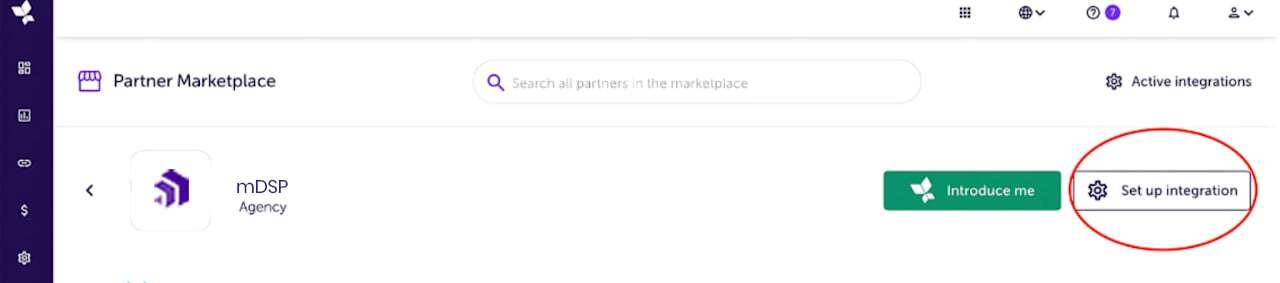
2. Click Set up integration.
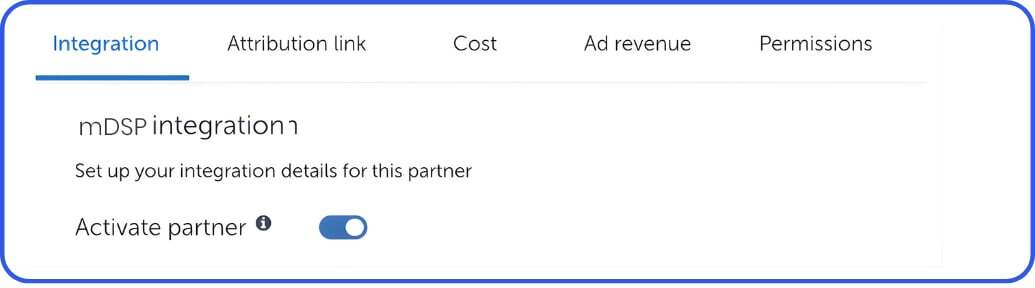
3. Under the Integration tab, toggle Activate Partner to ON and click Save to enable the connection.
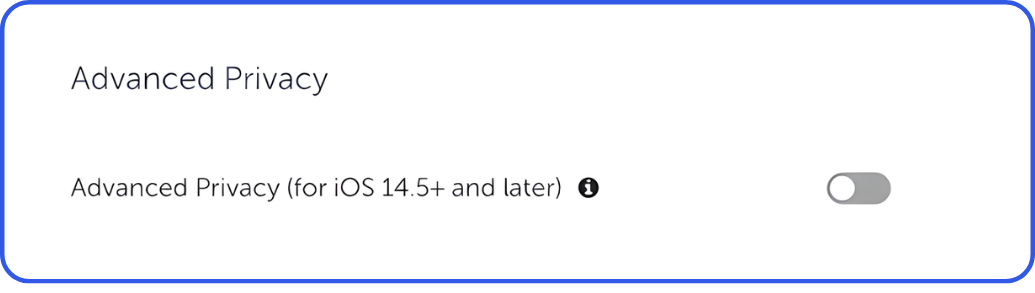
4. Keep the Advanced Privacy toggle OFF to allow full event and revenue sharing for optimization purposes.
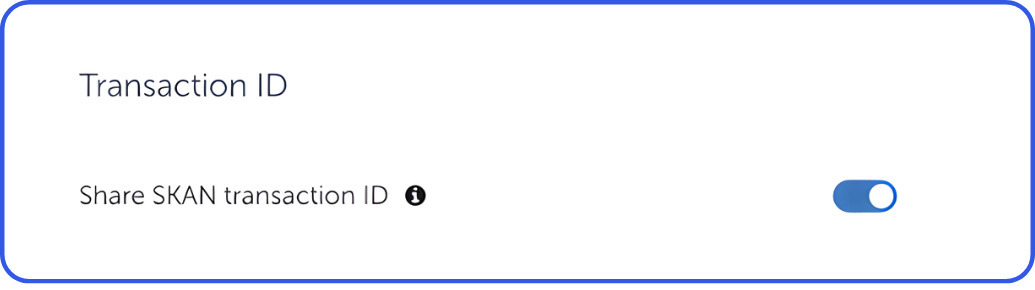
5. Share SKAN Transaction ID: Toggle ON (Required for SKAdNetwork reporting).
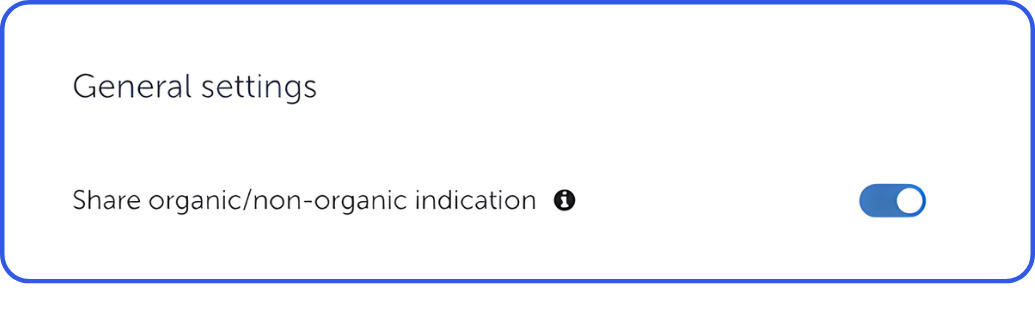
6. Share organic/non-organic indication: Toggle ON (Recommended to help us identify the source of each postback).
Set Default Postbacks
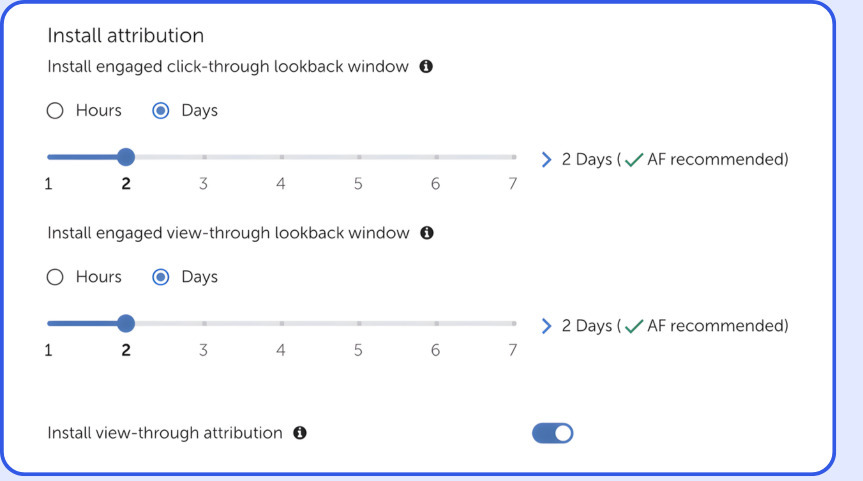
1. Configure how install data is sent to mDSP.
Lookback Windows:
- Engaged Click-Through: Set to 2 Days.
- Engaged View-Through: Set to 2 Days.
Install View-Through Attribution: Toggle ON.
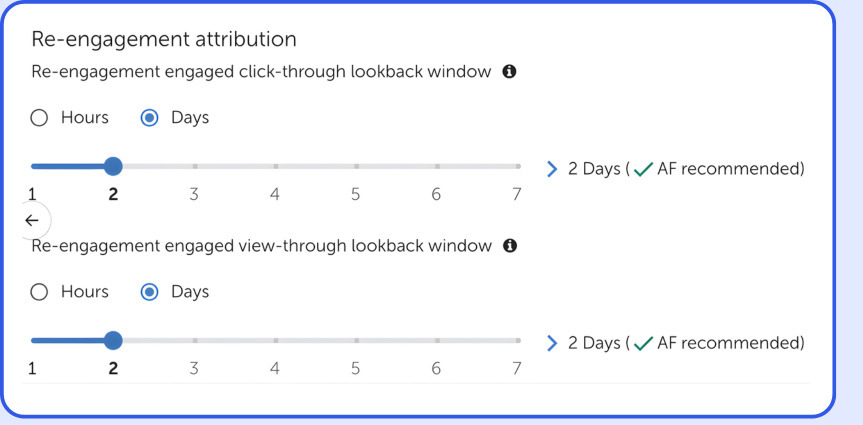
2. Configure how re-engagement data is sent to mDSP.
Lookback Windows:
- Engaged Click-Through: Set to 2 Days.
- Engaged View-Through: Set to 2 Days.
Re-Engagement View-Through Attribution: Toggle ON.
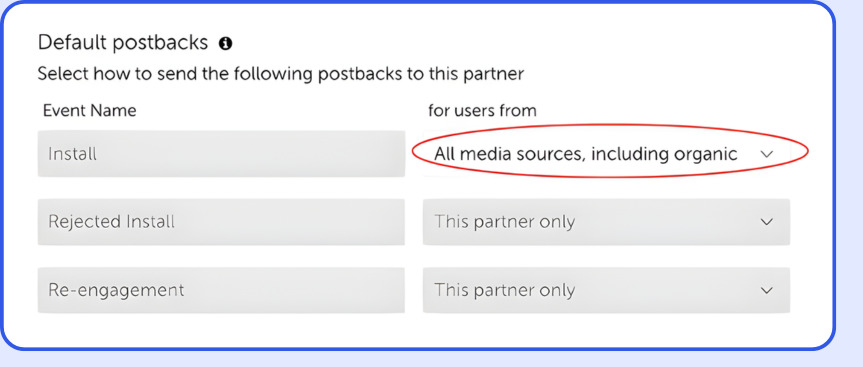
3. In the Default postbacks section, select "All media sources, including organic".
4. Set the Cross-platform attribution.
Under the Cross-platform view through attribution window section, select 72 hours.
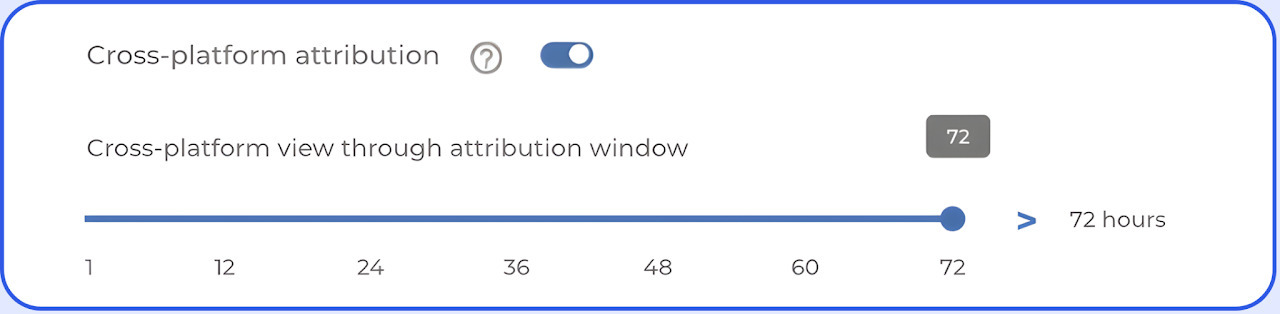
⚠️ Why this is important: When CTV campaigns run in parallel with mobile campaigns (where the cost for impressions is lower), MMPs do not weigh the full-screen impact of CTV ads. Make conditions even across both mobile and CTV campaigns by assigning a 72-hour cross-screen VTA window to CTV cross-device campaigns.
Map In-App Events
Mapping events allows mDSP to optimize for actions beyond the install, such as purchases or registrations.
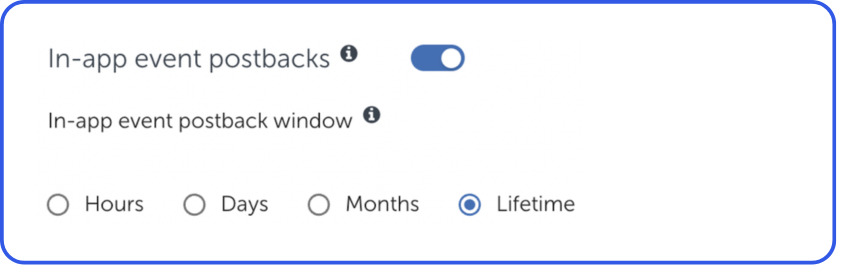
1. Complete the basic setup:
- Toggle In-App Event Postbacks to ON.
- Postback Window: Select Lifetime.
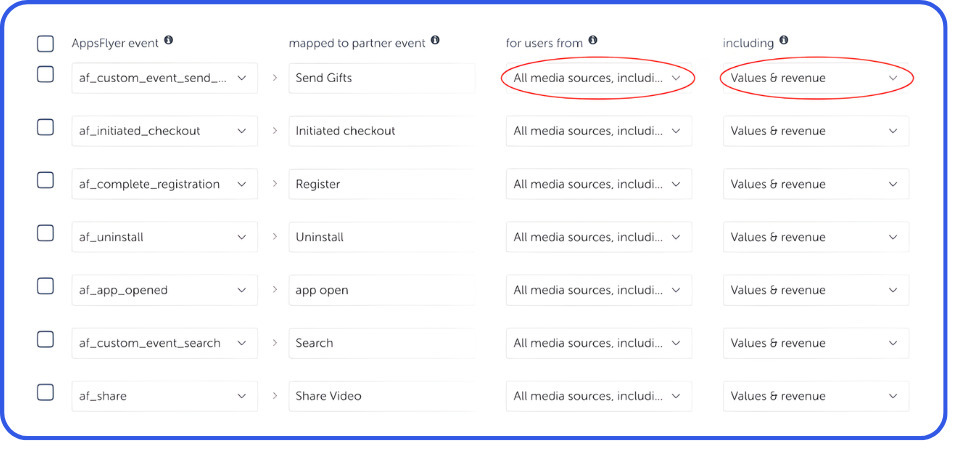
2. Add your events:
- Click Add Event and select all the SDK Event Names (e.g., af_complete_registration) you'd like to share.
- Map it to the corresponding Partner Event Identifier under the "Mapped to partner event" section (e.g., purchase).
- Under the "for users from" section, select "All media sources, including organic."
- Under the "including" section, select "values and revenues" if applicable.
💡 The more events you map, the better.
We strongly encourage building a comprehensive event funnel.
Set Up Attribution Links
In this section, you will configure how AppsFlyer handles attribution for your CTV campaigns.
1. Under the Attribution link type section, select the Use OneLink option for CTV.
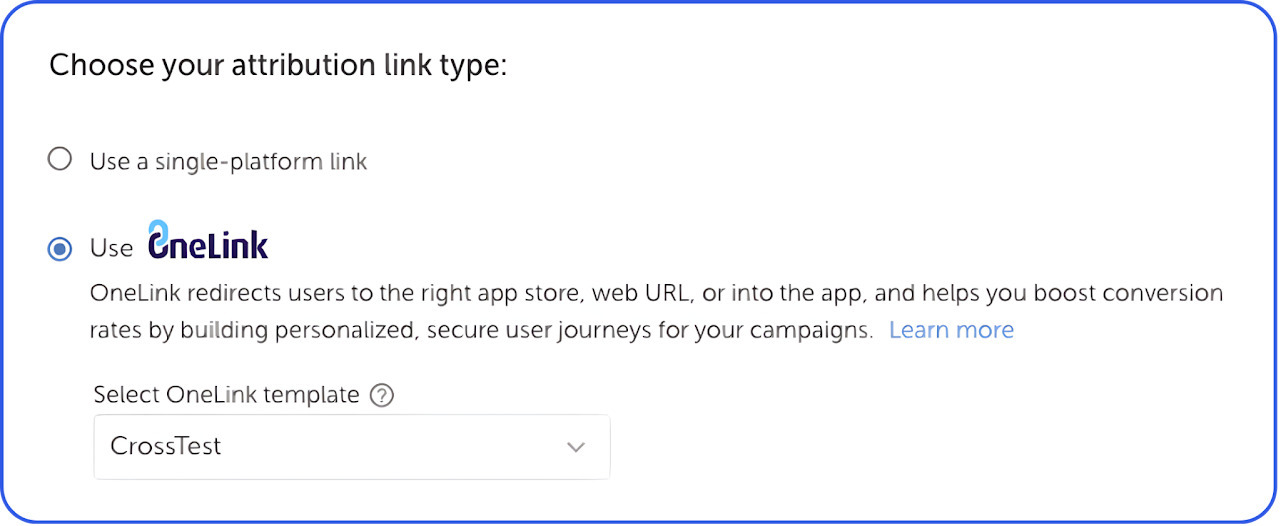
2. Go to edit template - making sure that the screenshot contains the template ID (screenshot below for reference).

3. Share it with our team.
For more info, check AppsFlyer's instructions.
Note: This is a single tracker that measures attribution across different mobile operating systems.
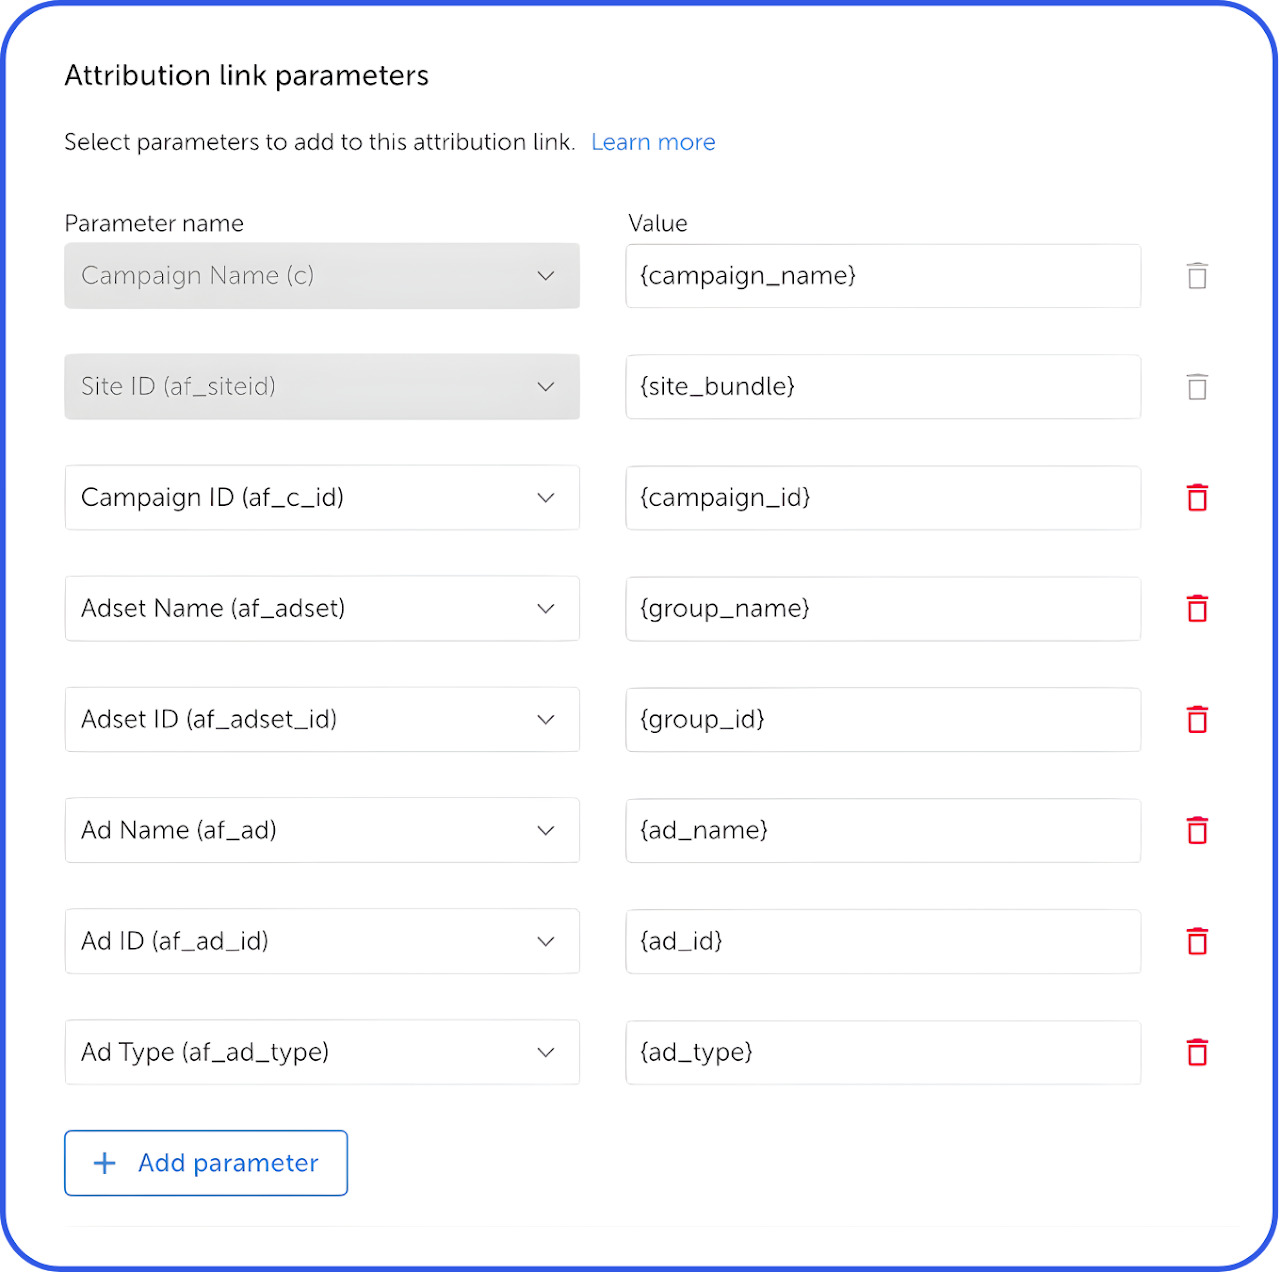
Leave the Attribution Link Parameters as default.
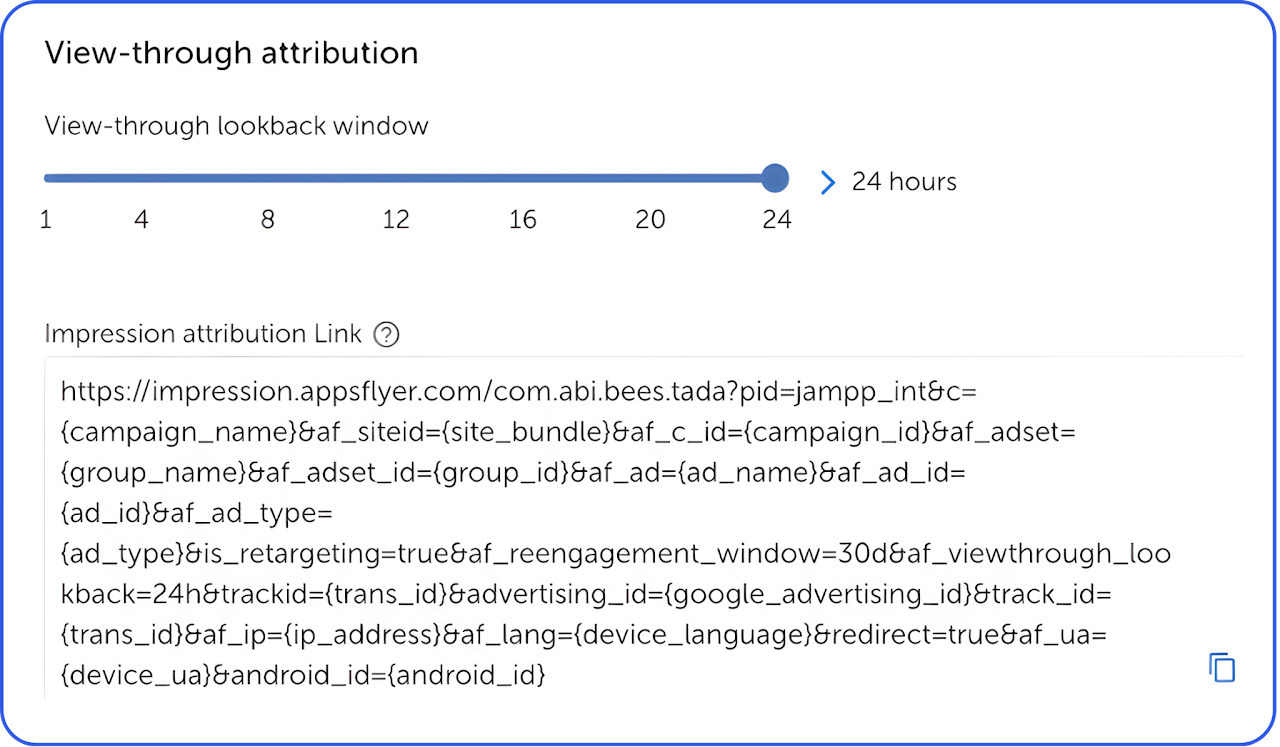
4. Set your Click-Through Lookback Window to 7 Days.
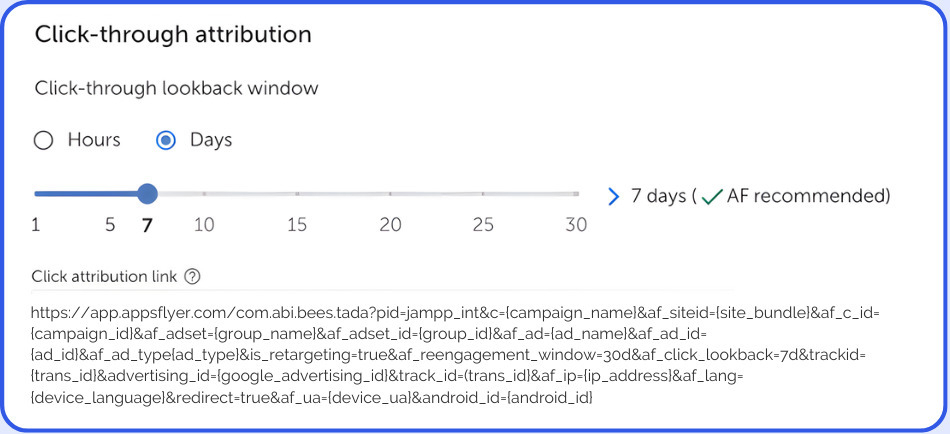
5. Set your View-Through Lookback Window to 24 hours.
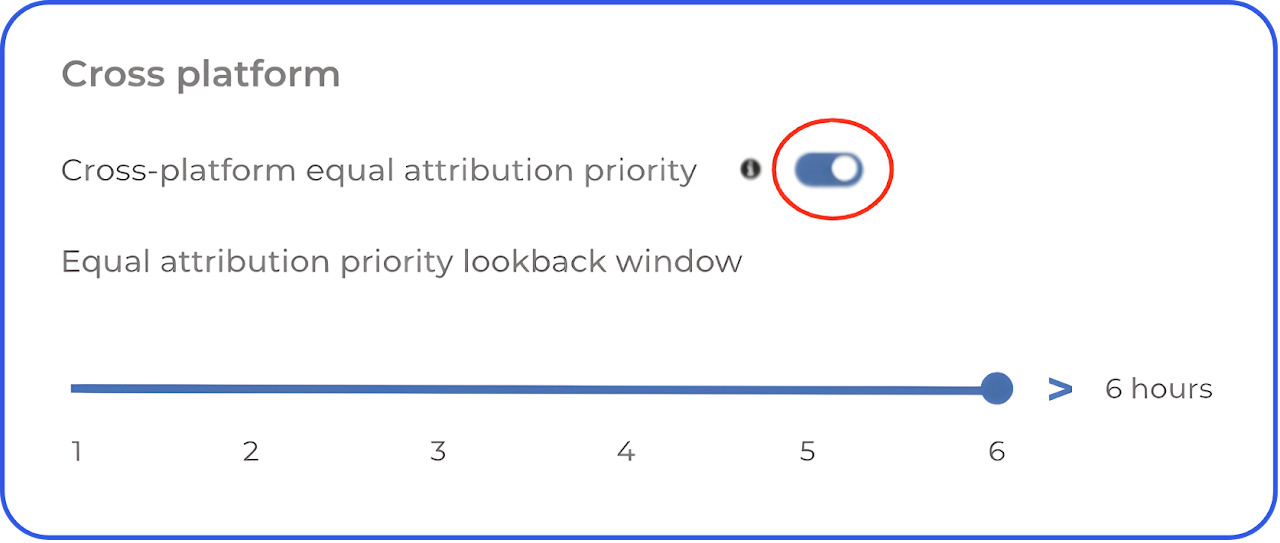
6. Under the Cross-platform title, enable Cross-platform equal attribution priority for cross-platform impressions and set the duration to 6 hours.
Set Default Postbacks (Retargeting Campaigns)
If you are running retargeting campaigns, enable these settings on the Integration tab.
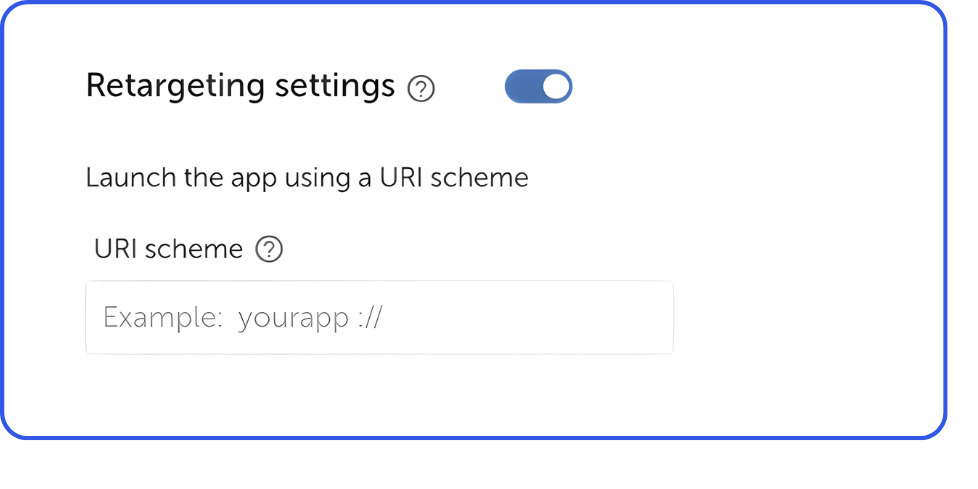
1. Complete initial settings:
- Toggle Retargeting Settings to ON.
- URI Scheme: Select your app’s URI scheme (deeplink) from the dropdown.
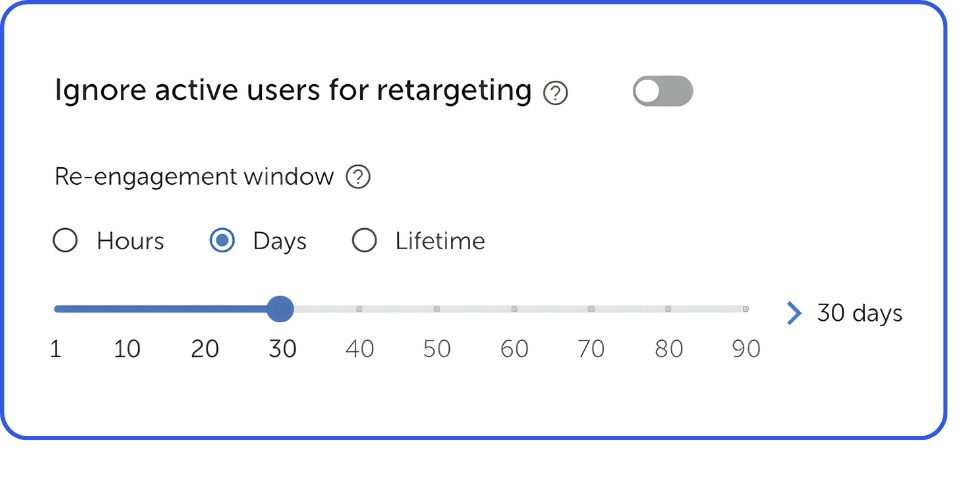
2. Set up re-engagement windows:
- Ignore Active Users: Toggle OFF.
- Re-engagement Window: Set to 30 Days (recommended).
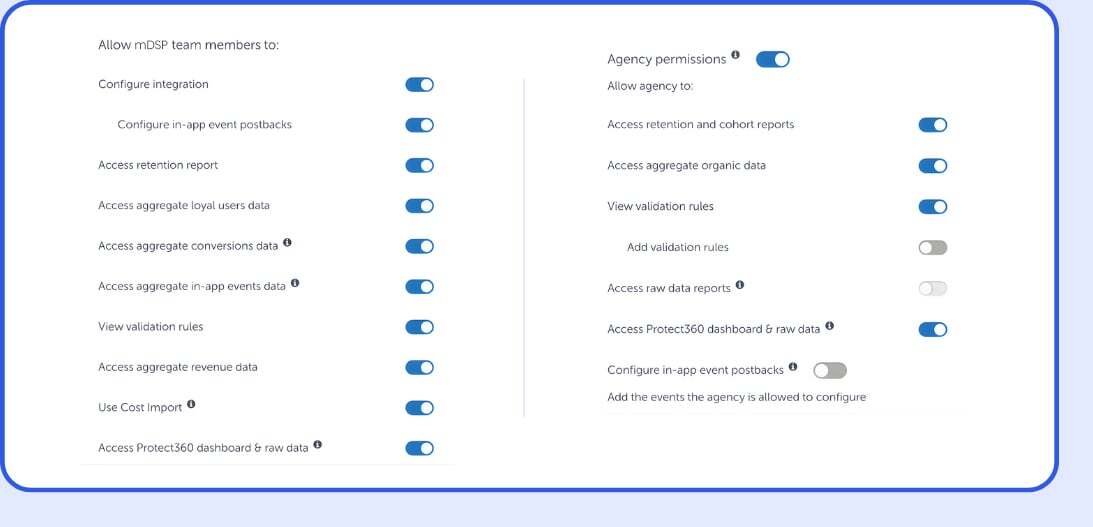
Permissions
Enabling these allows our team to troubleshoot integration issues efficiently.
1. Toggle Permissions to ON.
mDSP already has default access, so there is no need to add an account manually.
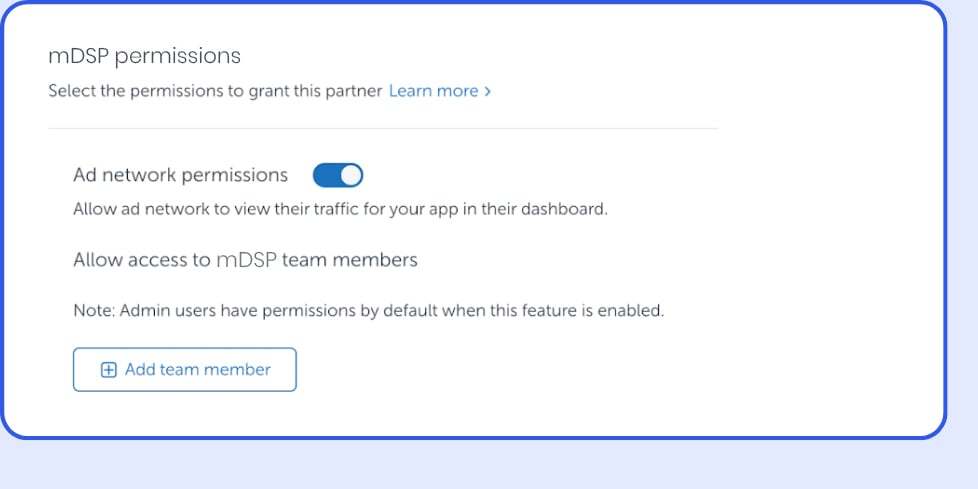
2. Set up the remaining toggles as follows: